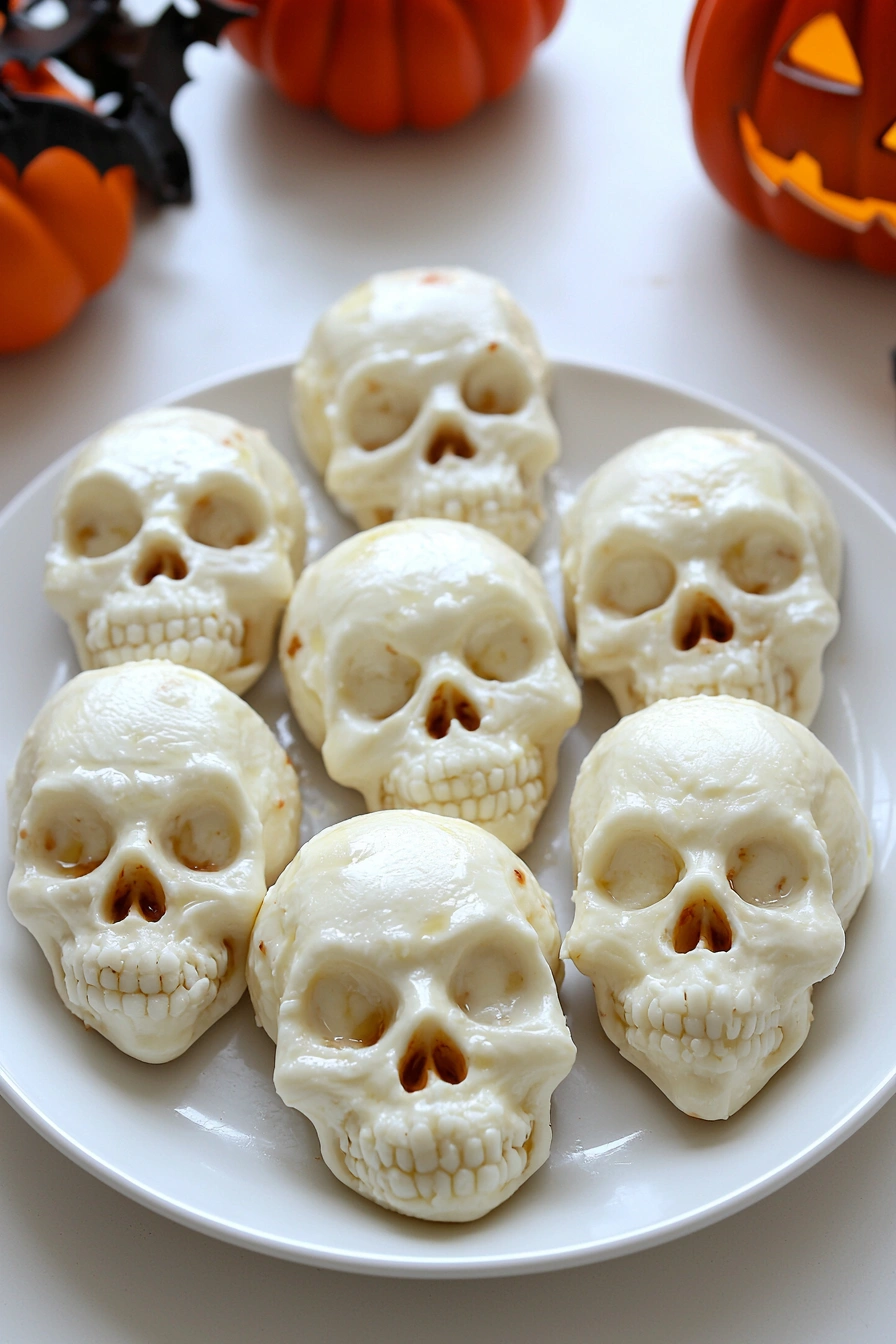
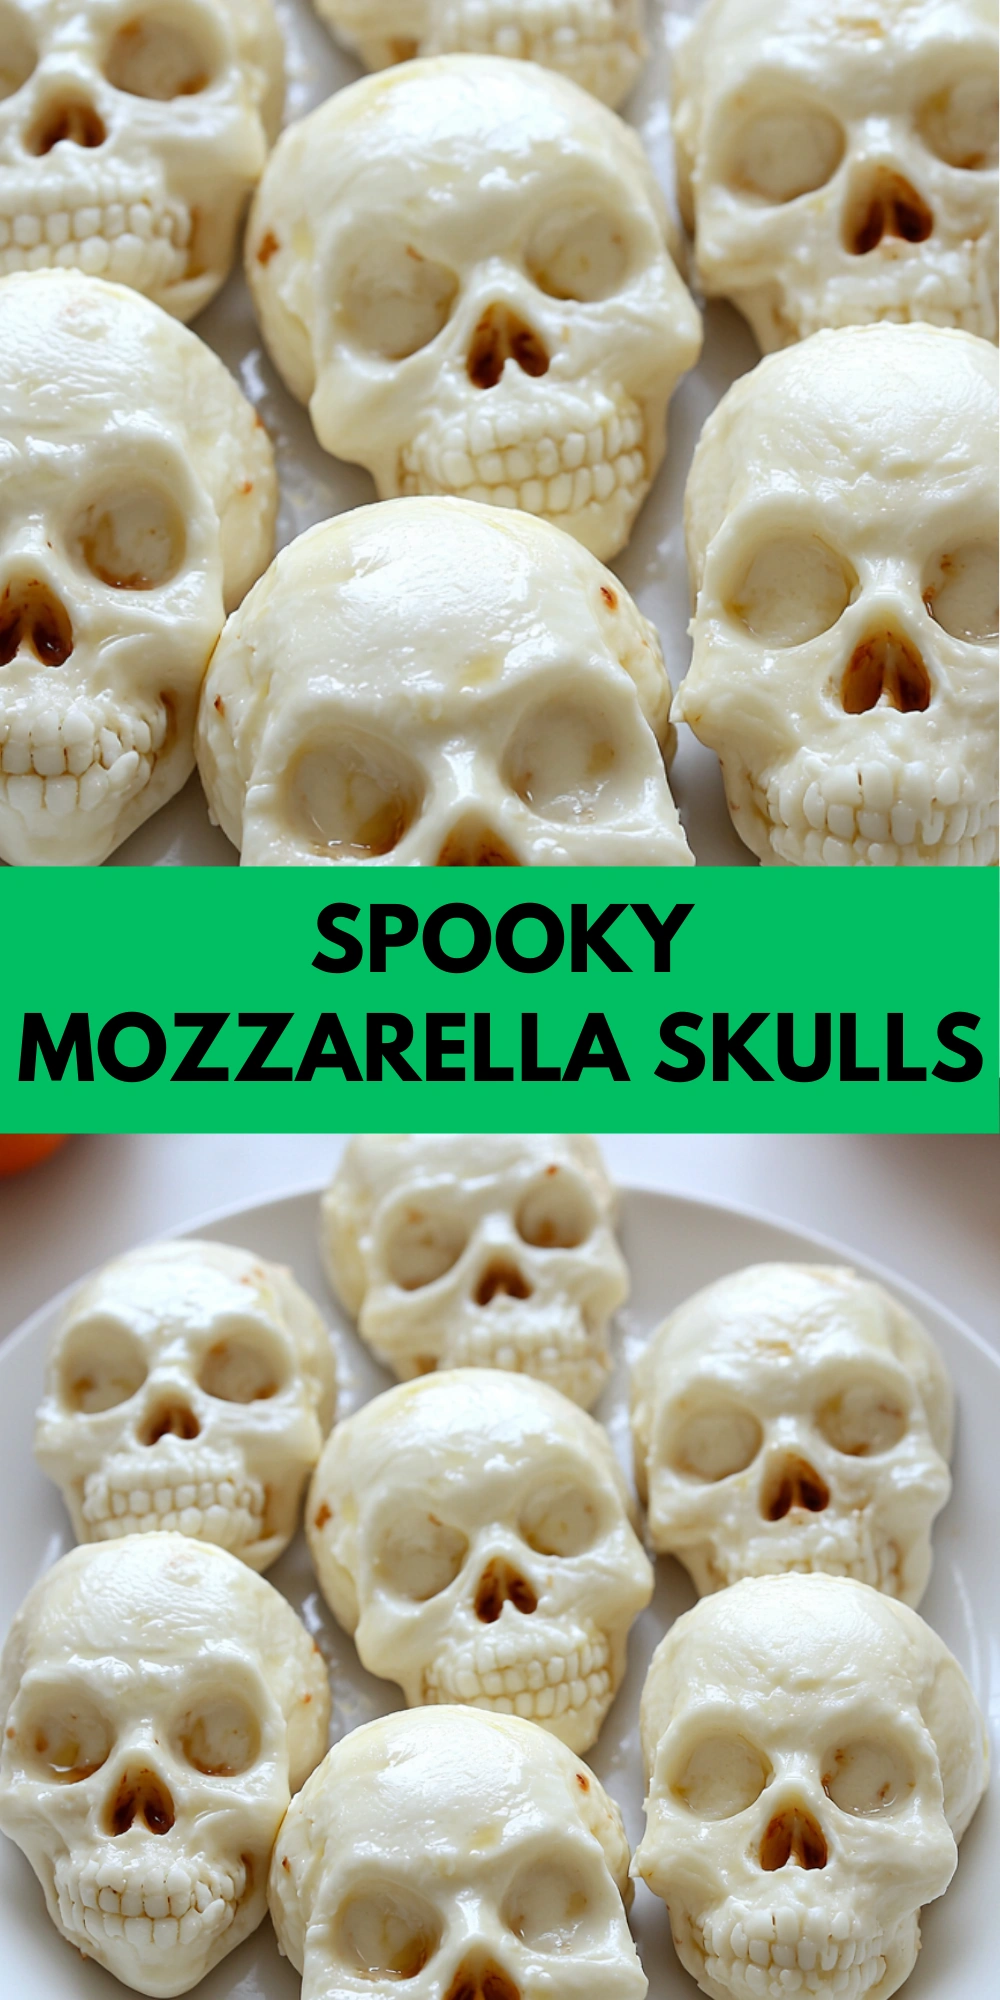
Spooky mozzarella skulls came to life in my kitchen during a Halloween cheese board experiment gone right. I had just gotten a silicone skull mold and thought, “Why not try filling it with mozzarella?” I seasoned the cheese, packed it into the mold, and let it chill. When I flipped the mold and saw those creepy little faces staring back at me, I couldn’t stop laughing—they looked way too realistic and absolutely perfect for a Halloween platter.
Ever since that moment, they’ve become my signature spooky snack. These cheesy skulls are soft, savory, and super versatile. You can melt them onto pasta, stack them into sliders, or serve them as is on a Halloween-themed board. They always get a reaction—and honestly, they’re so easy, it almost feels like cheating!
Ingredients
Here’s what I use for this recipe. You can always make substitutions if you prefer!
- Shredded mozzarella – The star of the show, melts beautifully and sets into shape
- Cream cheese – Adds smoothness and helps the skulls hold their form
- Garlic powder – Gives the cheese mix a flavorful, savory kick
- Italian seasoning – Adds a subtle herby flavor throughout
- Crushed red pepper – Optional, for a tiny spicy surprise
- Salt – To enhance the cheesy goodness
- Olive oil – Optional, adds richness and sheen if desired
Tools You’ll Need
- Silicone skull mold – Essential for creating those spooky, skull-like shapes
- Mixing bowl – For combining all your cheesy ingredients
- Spoon or spatula – To help press the mixture into every corner of the mold
- Fridge or freezer – Needed to chill and set the skulls firmly
- Small plate – For easy serving or transferring after unmolding
Instructions
Step 1:
I start by mixing the shredded mozzarella with cream cheese in a bowl until smooth and evenly combined.
Step 2:
I add garlic powder, Italian seasoning, a pinch of salt, and crushed red pepper if I want a little heat.
Step 3:
I lightly grease the silicone skull mold with a bit of olive oil to help them release cleanly later.
Step 4:
Using a spoon, I press the cheesy mixture into each skull cavity, making sure to fill every crevice to capture those creepy details.
Step 5:
I smooth out the tops so they’re flat and even, then pop the mold into the fridge for about 1 hour—or the freezer for 30 minutes—until firm.
Step 6:
Once they’ve set, I carefully unmold each skull and arrange them on a serving plate.
Step 7:
I like to serve them cold on a Halloween charcuterie board or slightly warmed on top of pasta or sliders.
Tips
If you want the skulls to melt like ghosts over hot food, warm them slightly before serving. For a smoky twist, try mixing in a bit of smoked gouda or cheddar. You can also color the cheese mix with natural food coloring for even creepier effects—imagine green zombie skulls or bloodshot red eyes!
Ways to Serve
I love placing these spooky mozzarella skulls on a Halloween grazing board with cured meats, olives, crackers, and roasted peppers. They also look great on top of tomato soup or melting into baked pasta for a surprise inside. Another fun idea is sticking toothpicks in them and serving them as eerie party bites!
Frequently Asked Questions
Can I make spooky mozzarella skulls ahead of time?
Yes! You can prepare and chill them up to 2 days in advance. Just keep them refrigerated until ready to serve.
Can spooky mozzarella skulls be frozen?
Definitely. Store them in a single layer in a freezer-safe container and thaw in the fridge when needed.
Can I melt spooky mozzarella skulls on hot dishes?
Absolutely. They melt beautifully over pasta, pizza, soup, or even burgers for a spooky surprise.
See You in the Kitchen
I hope you give these spooky mozzarella skulls a try! They’re spooky, simple, and so much fun to serve. Whether you use them cold, melty, or somewhere in between, I promise they’ll be a hit at any Halloween gathering. Don’t forget to share your creations—I’d love to see your haunted cheese boards!
Happy Cooking!
Print
Spooky Mozzarella Skulls
- Total Time: 1 hour 15 minutes
- Yield: 8 skulls 1x
- Diet: Vegetarian
Description
Looking for the best Halloween cheese snack ideas? These spooky mozzarella skulls are easy, quick, and perfect for themed appetizers! Serve them cold or melted for a fun, healthy, and simple Halloween treat. Add to pasta, sliders, or a creepy snack board—this is the best cheesy idea!
Ingredients
- 1 1/2 cups shredded mozzarella
- 1/4 cup cream cheese (softened)
- 1/2 tsp garlic powder
- 1/2 tsp Italian seasoning
- 1/4 tsp salt
- Pinch of crushed red pepper (optional)
- Olive oil (optional, for greasing)
Instructions
- In a bowl, mix shredded mozzarella with cream cheese until smooth.
- Add garlic powder, Italian seasoning, salt, and crushed red pepper.
- Lightly grease the silicone skull mold with olive oil.
- Press the cheese mixture into the mold, filling each cavity completely.
- Chill in the fridge for 1 hour or freeze for 30 minutes until firm.
- Carefully unmold and place on a plate or dish.
- Serve cold, or slightly warm before adding to hot dishes.
Notes
- Mix in smoked cheese for added flavor.
- Add natural food coloring for spooky effects.
- Serve with crackers, meat, or as a topper for pasta.
- Can be made ahead and refrigerated for 2 days.
- Prep Time: 15 minutes
- Cook Time: 0 minutes
- Category: Appetizer
- Method: No-bake
- Cuisine: American
Nutrition
- Serving Size: 1 skull
- Calories: 110
- Sugar: 1g
- Sodium: 180mg
- Fat: 8g
- Saturated Fat: 5g
- Unsaturated Fat: 2.5g
- Trans Fat: 0g
- Carbohydrates: 1g
- Fiber: 0g
- Protein: 7g
- Cholesterol: 25mg