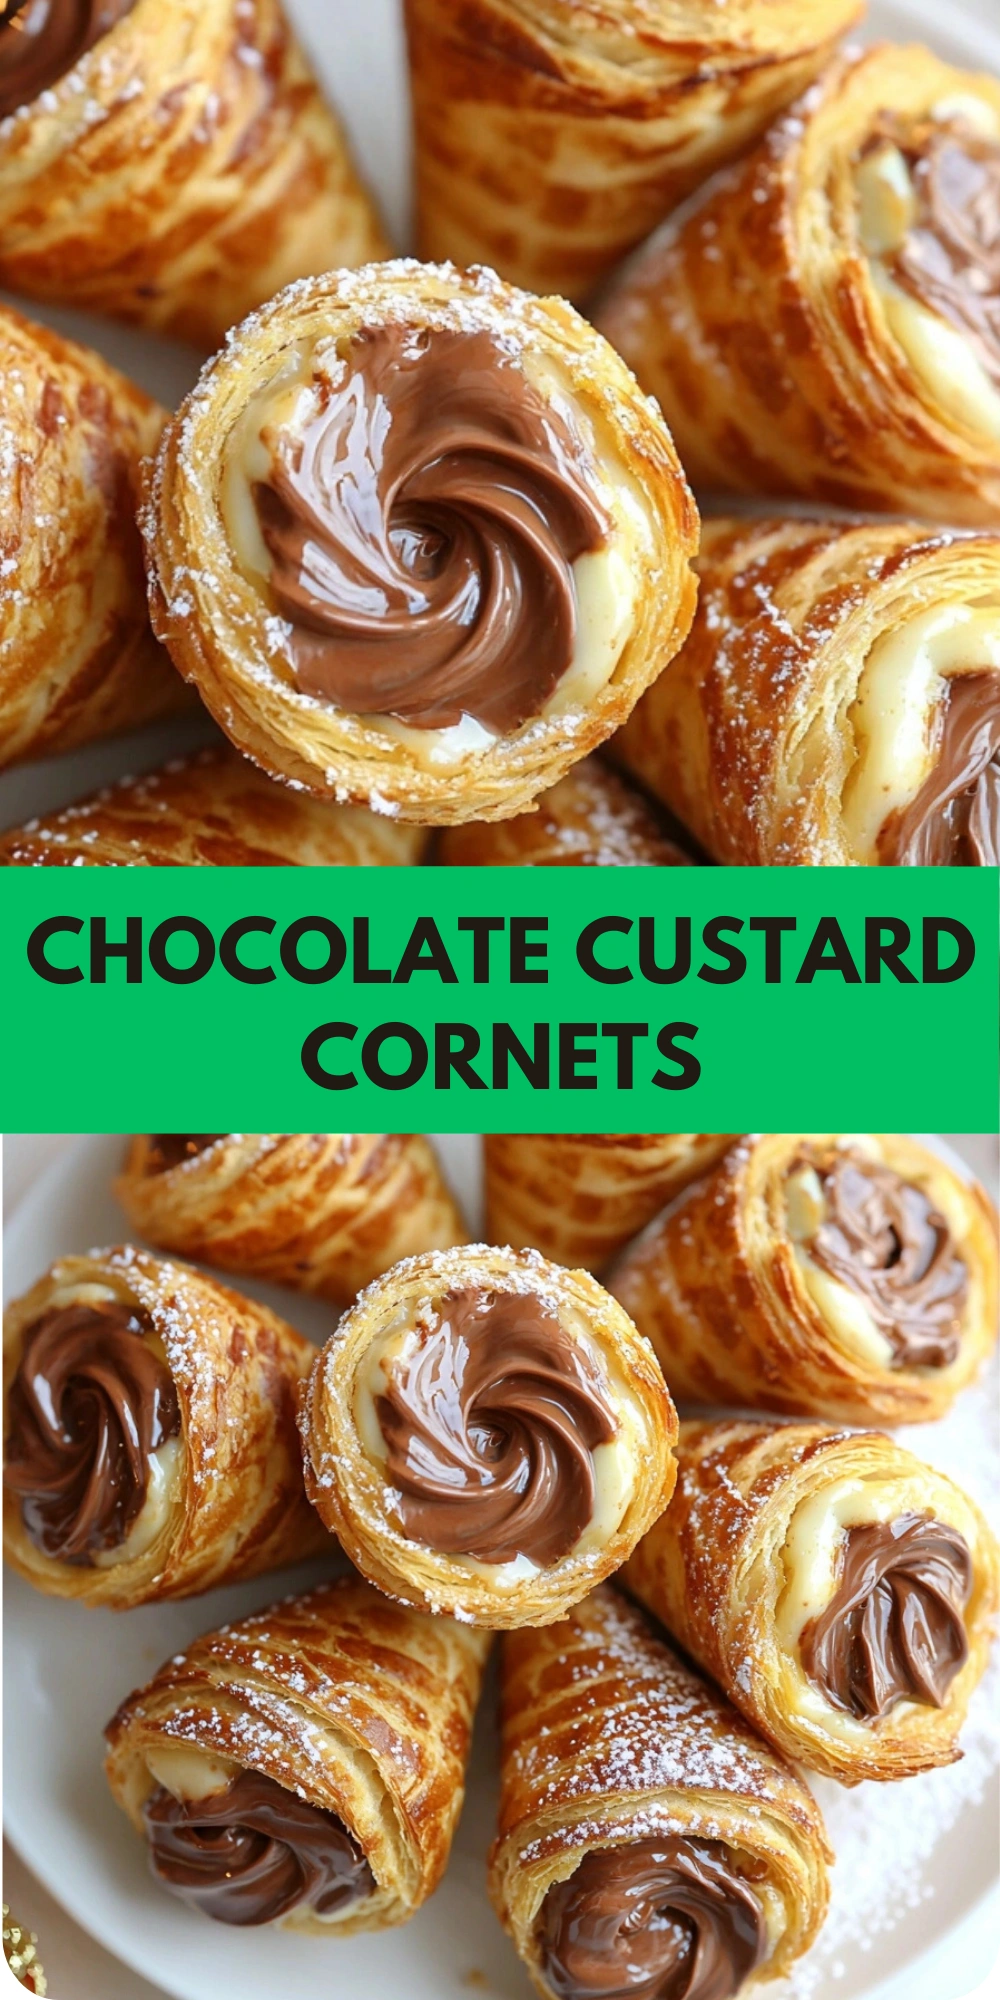
Chocolate custard cornets always take me back to a winter holiday baking night I spent with my cousin. We had seen a photo of them online and decided, why not try something that looks fancy but feels like a cozy dessert? So we poured some hot cocoa, played our favorite playlist, and ended up with a tray of warm, golden pastry cones filled with swirls of rich chocolate and creamy vanilla custard that disappeared within minutes.
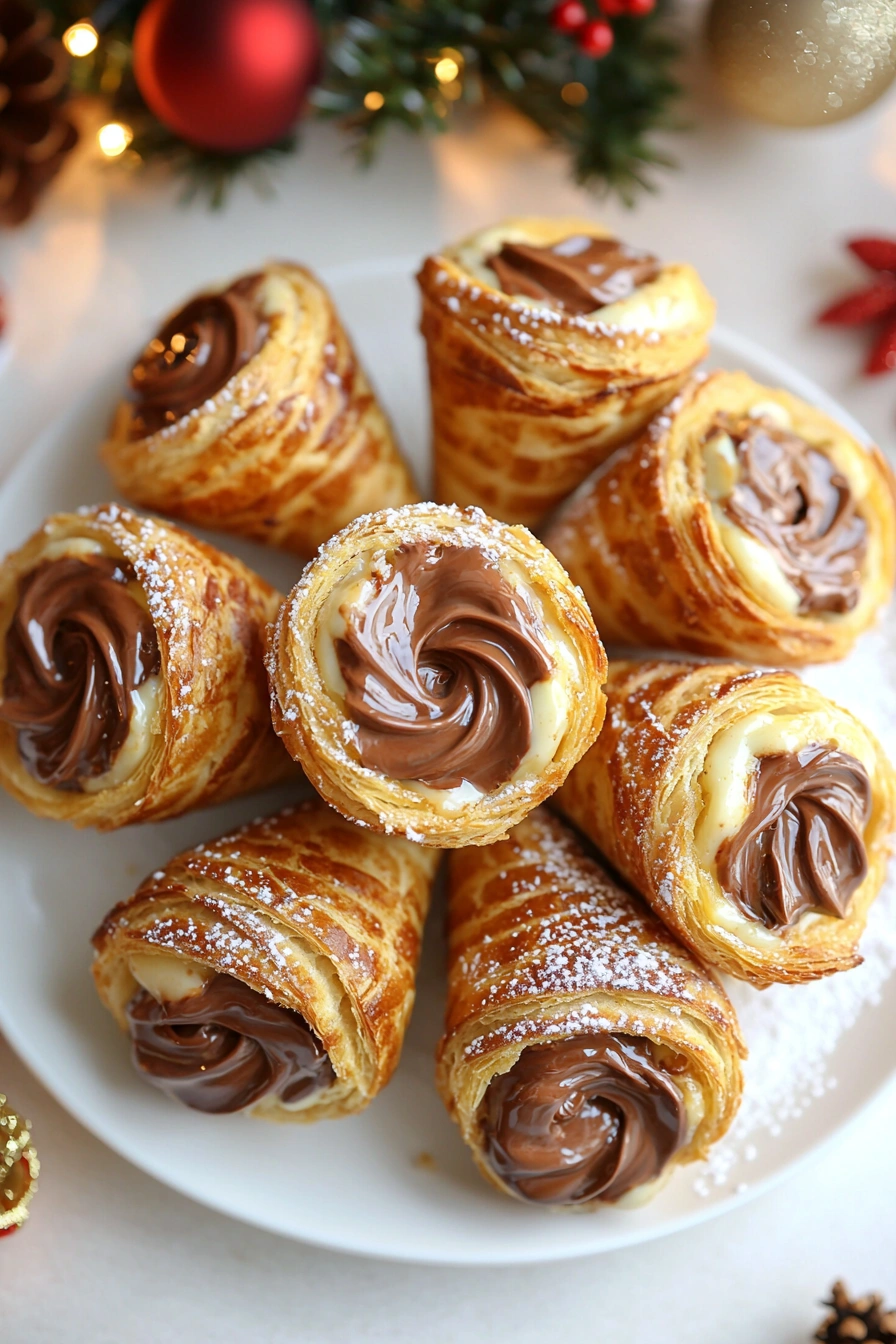
Since that day, I’ve made these cornets for everything from brunches to birthday tables. They’re flaky, indulgent, and honestly way easier to make than they look. Every bite has that irresistible mix of crisp puff pastry and smooth custard – it’s like dessert magic in cone form.
Ingredients
Here’s what I use for this recipe. You can always make substitutions if you prefer!
- Puff pastry – The buttery, flaky shell that forms the cone shape.
- Egg – Brushed on top for a beautiful golden finish.
- Sugar – Lightly dusted to sweeten and caramelize the pastry.
- Cornstarch – Helps thicken the custard for a silky texture.
- Milk – The base for making the custard smooth and creamy.
- Egg yolks – Enrich the custard and give it a velvety consistency.
- Vanilla extract – Adds a sweet, aromatic touch to the custard.
- Chocolate spread – Swirled into the custard for indulgent flavor.
- Powdered sugar – For a decorative dusting that gives a festive finish.
Tools You’ll Need
- Pastry cones or molds – These give the cornets their signature shape.
- Rolling pin – To evenly flatten and shape the puff pastry sheets.
- Parchment paper – Prevents the pastry from sticking while baking.
- Pastry brush – Helps you apply the egg wash for that glossy finish.
- Saucepan – Used for cooking the custard mixture until thick.
- Whisk – Essential for keeping the custard smooth and lump-free.
- Piping bag with tip – For neatly filling each cornet with custard and chocolate.
- Cooling rack – Lets the baked cones cool evenly without going soggy.
Instructions
Step 1: Prepare the pastry
I begin by preheating the oven to 400°F (200°C). Then I lightly flour my surface and roll out the puff pastry sheet just a bit to even it out. I cut it into long strips about an inch wide.
Step 2: Shape the cones
Using the pastry molds, I wrap each strip around the cone, overlapping slightly. I brush them with a bit of beaten egg and sprinkle some sugar on top for sweetness and shine.
Step 3: Bake the cones
I place the wrapped molds on a parchment-lined tray and bake them for about 15 minutes until puffed and golden. Once out of the oven, I let them cool a few minutes before gently removing them from the molds.
Step 4: Make the custard
While the cones cool, I mix egg yolks, sugar, cornstarch, and milk in a saucepan. I cook it over medium heat while whisking constantly until it thickens into a silky custard. Then I stir in a splash of vanilla extract and let it cool.
Step 5: Add the chocolate
I fill half the cooled custard into a piping bag and mix the other half with chocolate spread until it’s fully combined and creamy. That goes into another piping bag so I can swirl both together into the cones.
Step 6: Fill the cornets
Once the cones are fully cool, I pipe in the vanilla and chocolate custards side by side to create a beautiful swirl. A dusting of powdered sugar on top gives them a sweet and festive finish.
Tips
I chill the puff pastry slightly before shaping to make it easier to handle.
You can swap the chocolate spread with Nutella or melted dark chocolate for different vibes.
If you don’t have cone molds, I roll foil into cone shapes and wrap them in parchment – works great!
For extra flavor, I sometimes add orange zest or a dash of espresso powder to the chocolate custard.
I like to store the filled cornets in the fridge if I make them ahead – they stay crisp for a few hours.
Ways to Serve
These are perfect for a holiday dessert table or a cozy winter brunch with hot drinks.
I serve them in cupcake liners to make grabbing one easier and mess-free.
For parties, I make mini versions using smaller molds – they disappear even faster!
Frequently Asked Questions
Can I make Chocolate Custard Cornets in advance?
Yes, you can bake the pastry cones a day ahead and store them in an airtight container. Fill them just before serving for best texture.
Can I use store-bought custard for Chocolate Custard Cornets?
Absolutely! If you’re in a hurry, pre-made vanilla custard works fine. Just add your favorite chocolate spread for the swirl.
Do I need pastry cone molds to make Chocolate Custard Cornets?
They help with the perfect shape, but you can easily DIY your own molds with foil and parchment.
Can I freeze Chocolate Custard Cornets?
I recommend freezing only the pastry cones. Custard doesn’t freeze well and can separate when thawed.
See You in the Kitchen
I hope you try making these Chocolate Custard Cornets soon! They’re festive, creamy, and guaranteed to impress whether you’re baking for yourself or guests. Don’t forget to snap a photo and share how they turned out!
Happy Cooking!
Print
Chocolate Custard Cornets
- Total Time: 35 minutes
- Yield: 8 cornets 1x
- Diet: Vegetarian
Description
Looking for the best chocolate custard cornets recipe? This quick and easy dessert idea features flaky puff pastry and a creamy filling. A perfect treat for holidays, birthdays, or brunch parties. This simple and healthy twist on a classic is totally beginner-friendly and fun to make. Try it for your next special occasion or cozy weekend baking session!
Ingredients
- 1 sheet puff pastry
- 1 egg (for egg wash)
- 2 tbsp sugar
- 2 tbsp cornstarch
- 1 1/2 cups milk
- 2 egg yolks
- 1 tsp vanilla extract
- 1/2 cup chocolate spread
- Powdered sugar for dusting
Instructions
- Preheat oven to 400°F (200°C) and roll out puff pastry slightly.
- Cut pastry into 1-inch wide strips and wrap around cone molds.
- Brush with egg wash and sprinkle with sugar.
- Bake for 15 minutes until golden and let cool on a rack.
- In a saucepan, whisk milk, egg yolks, sugar, and cornstarch until thickened.
- Stir in vanilla extract and cool the custard.
- Divide custard in half; mix one half with chocolate spread.
- Pipe both custards into the cooled cones and dust with powdered sugar.
Notes
- Use foil cones if you don’t have metal molds.
- Chill custard before piping for firmer texture.
- Try Nutella or dark chocolate for a twist.
- Don’t overfill cones to prevent sogginess.
- Prep Time: 20 minutes
- Cook Time: 15 minutes
- Category: Dessert
- Method: Baking
- Cuisine: European
Nutrition
- Serving Size: 1 cornet
- Calories: 230
- Sugar: 10g
- Sodium: 95mg
- Fat: 13g
- Saturated Fat: 7g
- Unsaturated Fat: 5g
- Trans Fat: 0g
- Carbohydrates: 24g
- Fiber: 1g
- Protein: 4g
- Cholesterol: 60mg