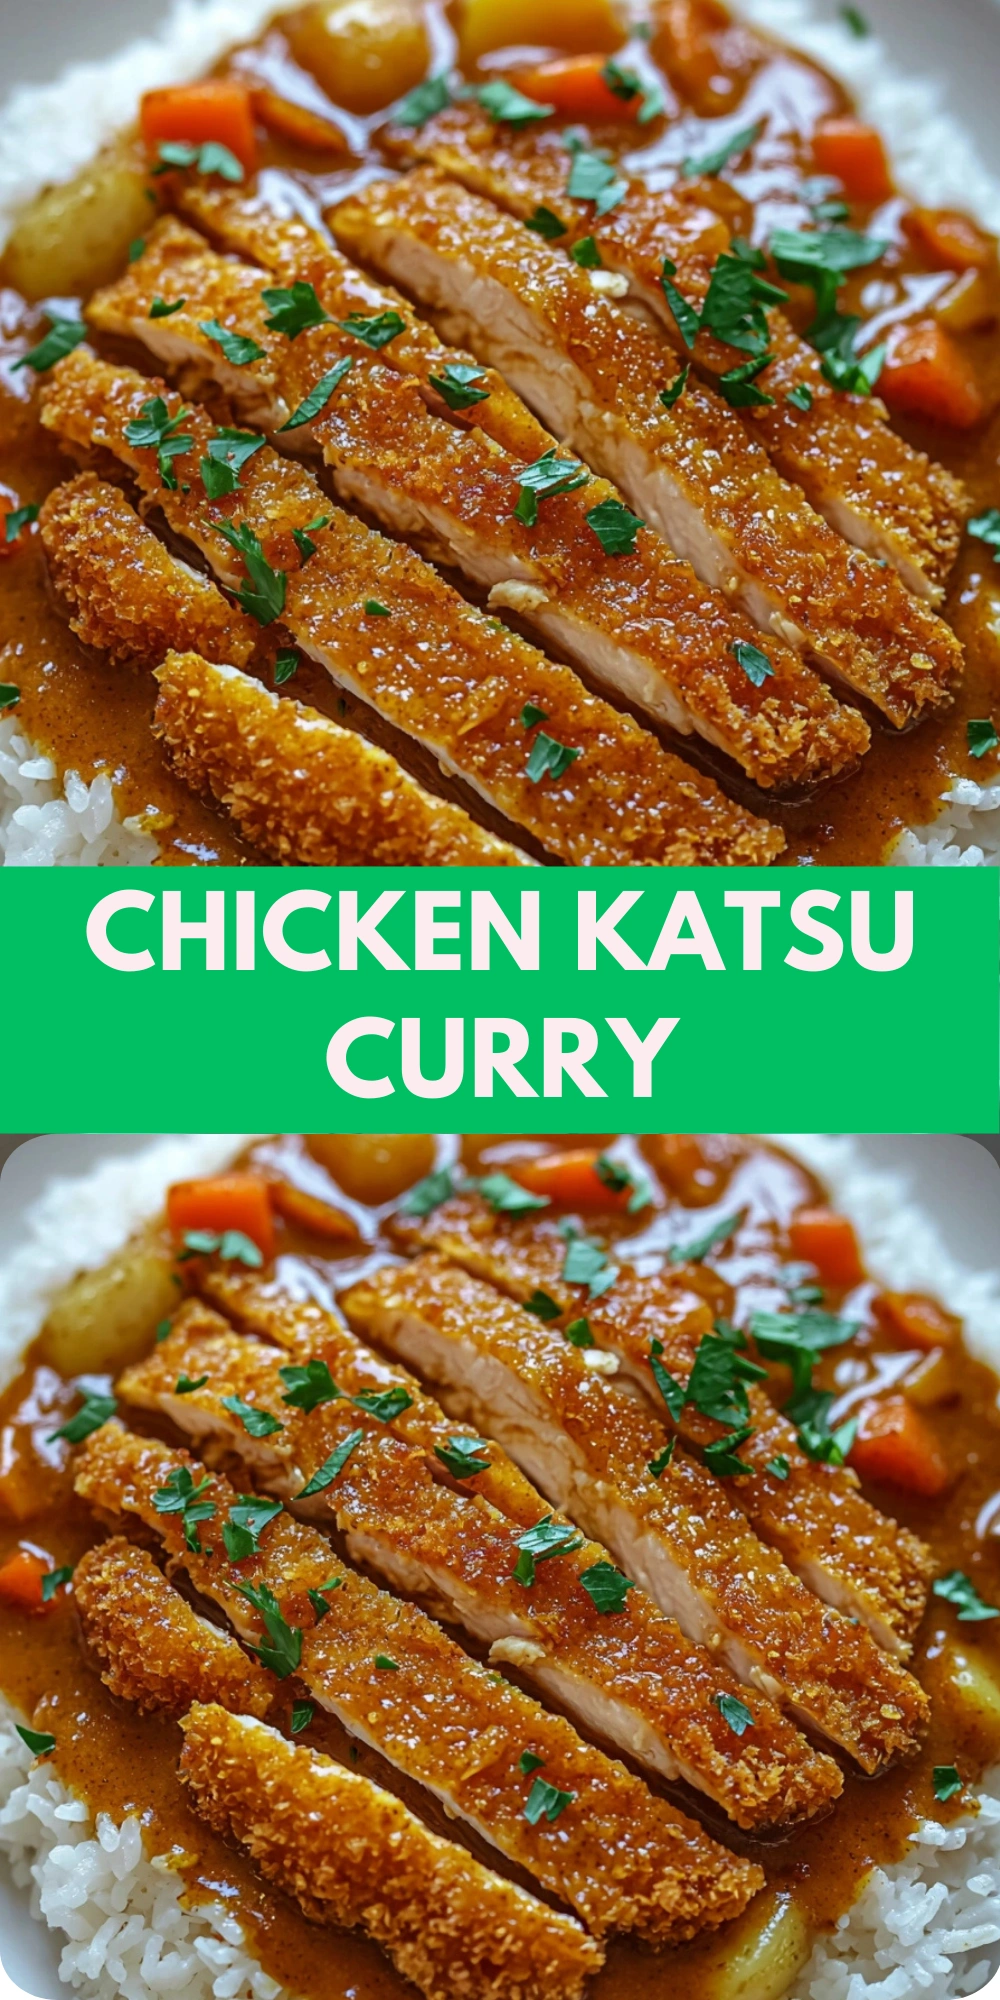
I still remember the first time I made Chicken Katsu Curry at home because I had just come back from a trip to Tokyo and couldn’t stop thinking about the comforting dish I had in a tiny local spot. I craved that crispy, juicy chicken paired with a velvety, mildly spiced curry that felt both exotic and familiar. So I rolled up my sleeves and tried to recreate it from memory then added my personal twist along the way.
That evening turned into one of those accidental kitchen victories because now it’s become a requested regular in my house. The crunch of the panko-coated chicken combined with the warmth of the golden curry sauce and the soft bed of rice just hits all the right notes and brings that travel-inspired comfort straight to our dinner table.
Ingredients
Here’s what I use for this recipe. You can always make substitutions if you prefer!
- Chicken breasts – The star of the show for crispy katsu cutlets.
- Salt and pepper – To season the chicken and enhance overall flavor.
- All-purpose flour – Helps the egg stick to the chicken.
- Eggs – Binds the panko to the chicken cutlets.
- Panko breadcrumbs – Creates that signature light and crispy coating.
- Onion – Adds sweetness and depth to the curry base.
- Carrots – Brings texture and a slight sweetness.
- Potatoes – Adds heartiness and absorbs the curry sauce beautifully.
- Garlic – Provides aromatic depth to the curry base.
- Curry powder – Delivers the bold, warm spice flavor.
- Garam masala – Adds a finishing touch of warmth and complexity.
- Soy sauce – Enhances umami and saltiness in the sauce.
- Chicken broth – The flavorful liquid base for the curry.
- Flour (for sauce) – Thickens the curry sauce.
- Oil (for frying) – Ensures the chicken gets crispy and golden brown.
- Cooked rice – Acts as the comforting base for the entire dish.
Tools You’ll Need
- Cutting board and knife – For prepping the vegetables and slicing the chicken.
- Meat mallet or rolling pin – Helps pound the chicken evenly for uniform cooking.
- Mixing bowls – For the breading station (flour, egg, panko).
- Large skillet or frying pan – To fry the chicken katsu until golden and crispy.
- Medium saucepan – Used to cook and simmer the curry sauce.
- Tongs or slotted spoon – For handling the fried chicken safely.
- Paper towels – To drain excess oil from the fried cutlets.
- Rice cooker or pot – To prepare your rice fresh and fluffy.
Instructions
Step 1: Prepare the chicken
I start by placing the chicken breasts between two sheets of plastic wrap then gently pound them to an even thickness. Then I season both sides with salt and pepper.
Step 2: Bread the chicken
Next, I dredge the chicken in flour then dip it into the beaten eggs and finally coat it in panko breadcrumbs. I press the crumbs in well to make sure they stick.
Step 3: Fry the chicken
In a skillet with about half an inch of oil heated over medium heat, I fry the breaded chicken until it’s golden brown and crispy on both sides. This usually takes about 3 to 4 minutes per side. Then I let it rest on paper towels.
Step 4: Make the curry
In a separate saucepan, I sauté onions in a bit of oil until they turn translucent. Then I add garlic, carrots, and potatoes and cook for a few more minutes. I sprinkle in the curry powder and garam masala and stir it around so the spices coat everything evenly.
Step 5: Thicken the sauce
I stir in a tablespoon of flour then slowly pour in the chicken broth and soy sauce while stirring. I let it simmer gently until the potatoes are fork-tender and the sauce has thickened to a rich, pourable consistency.
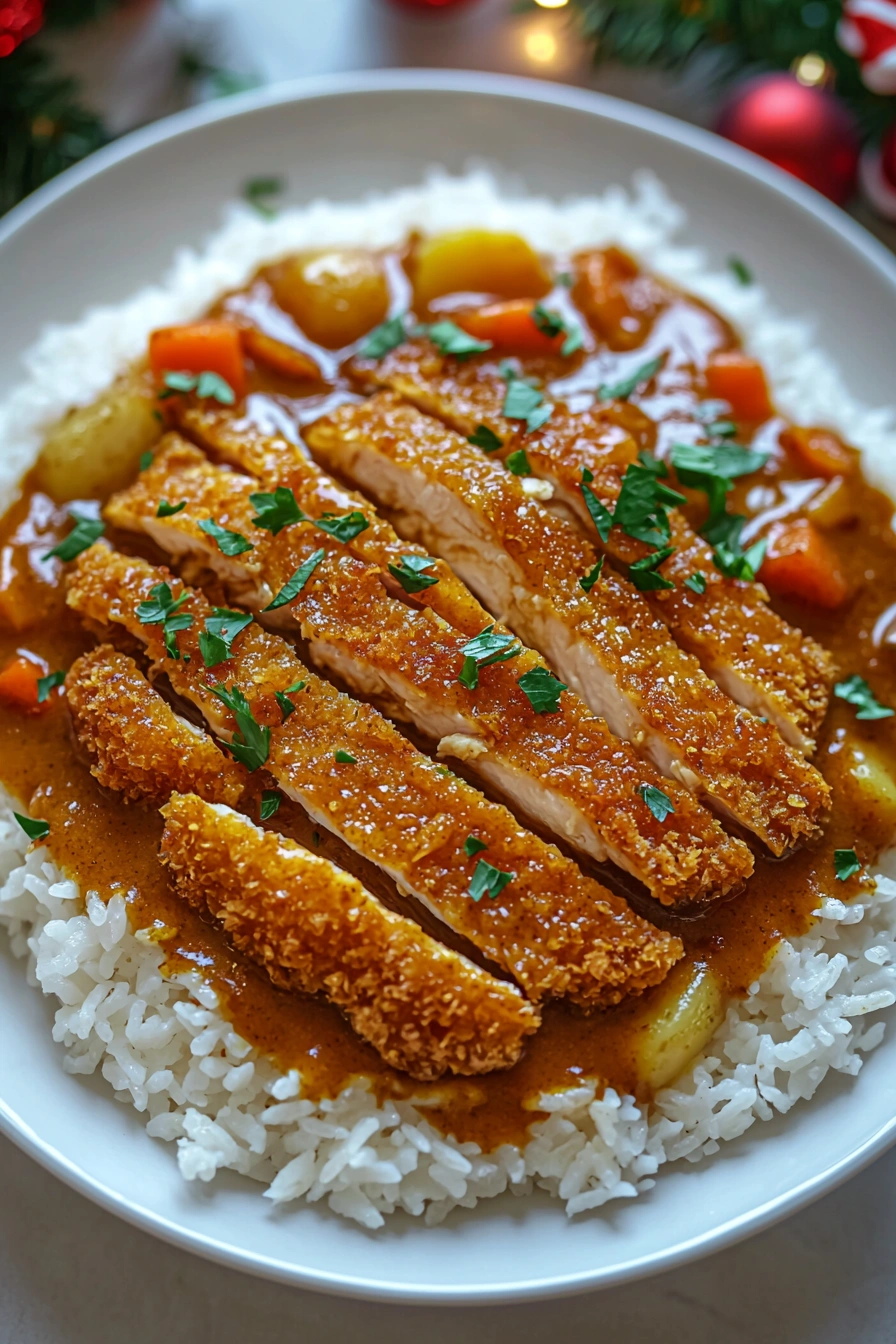
Step 6: Assemble the dish
I slice the crispy chicken into strips then lay it over a bed of hot steamed rice. I generously ladle the curry sauce and veggies around and over the chicken. A sprinkle of fresh parsley or green onion on top always adds a nice final touch.
Tips
I sometimes use chicken thighs instead of breasts for extra juiciness.
If you’re short on time, I make the curry sauce a day ahead and just reheat it.
For a milder version, I reduce the curry powder and add a teaspoon of honey.
I like to add a splash of coconut milk when I want the sauce extra creamy.
If I’m making it vegetarian, I swap the chicken with tofu and use vegetable broth.
Ways to Serve
I often pair it with a side of pickled radish or Japanese slaw to cut through the richness.
For lunchbox versions, I pack it with the rice and sauce separate from the chicken to keep it crispy.
If you want to turn it into a noodle bowl, it’s amazing over thick udon noodles instead of rice.
Frequently Asked Questions
Can I bake the chicken for Chicken Katsu Curry instead of frying it?
Yes, you can bake it at 400°F (200°C) for about 20 minutes then broil it for extra crispiness.
How long can I store Chicken Katsu Curry leftovers?
You can refrigerate the curry and chicken separately for up to 3 days. Reheat the curry gently and re-crisp the chicken in a toaster oven or air fryer.
Is Chicken Katsu Curry spicy?
It’s typically mild with a warm spice. You can adjust the heat level by adding chili flakes or using a spicier curry powder.
Can I freeze Chicken Katsu Curry?
Yes, I recommend freezing the curry sauce separately. The chicken can be frozen after frying but will need to be reheated in the oven for crispness.
See You in the Kitchen
I hope you give this Chicken Katsu Curry a try! It’s cozy, satisfying, and brings such comforting flavors to the table. Let me know how it turns out for you or tag me if you share it online! Save this recipe for those nights when you want something special but not too complicated.
Happy Cooking!
Print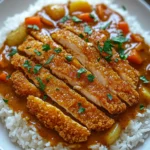
Chicken Katsu Curry
- Total Time: 45 minutes
- Yield: 2 servings 1x
- Diet: N/A
Description
Looking for the best chicken katsu curry recipe? This one is quick, easy, and incredibly delicious! Whether you’re after a simple weeknight dinner idea or a crowd-pleasing comfort meal, this dish delivers bold flavor with minimal fuss. Great for family meals, cozy gatherings, or an at-home Japanese dinner night. Try this easy and healthy take on the popular Japanese classic today!
Ingredients
- 2 boneless chicken breasts
- Salt and pepper to taste
- 1/2 cup all-purpose flour
- 2 eggs, beaten
- 1 cup panko breadcrumbs
- 1 onion, chopped
- 2 carrots, diced
- 2 potatoes, cubed
- 2 cloves garlic, minced
- 2 tbsp curry powder
- 1/2 tsp garam masala
- 2 tbsp soy sauce
- 2 cups chicken broth
- 1 tbsp flour (for thickening)
- Oil for frying
- Steamed white rice, for serving
Instructions
- Pound the chicken breasts to even thickness and season with salt and pepper.
- Dredge in flour, dip in beaten eggs, then coat with panko breadcrumbs.
- Fry in oil over medium heat until golden and crispy. Set aside on paper towels.
- Sauté onions in oil, then add garlic, carrots, and potatoes. Cook for 5 minutes.
- Add curry powder and garam masala and stir until well combined.
- Sprinkle in flour and stir, then pour in chicken broth and soy sauce gradually.
- Simmer until vegetables are tender and sauce is thickened.
- Slice the chicken and serve over rice with curry sauce poured on top.
Notes
- Use chicken thighs for extra juicy cutlets.
- For a vegetarian version, use tofu and vegetable broth.
- Prep curry ahead to save time on busy nights.
- Add chili flakes for more heat.
- Prep Time: 15 minutes
- Cook Time: 30 minutes
- Category: Dinner
- Method: Stovetop
- Cuisine: Japanese
Nutrition
- Serving Size: 1 plate
- Calories: 620
- Sugar: 6g
- Sodium: 850mg
- Fat: 25g
- Saturated Fat: 6g
- Unsaturated Fat: 17g
- Trans Fat: 0g
- Carbohydrates: 65g
- Fiber: 5g
- Protein: 32g
- Cholesterol: 155mg